
Last updated November 21, 2026
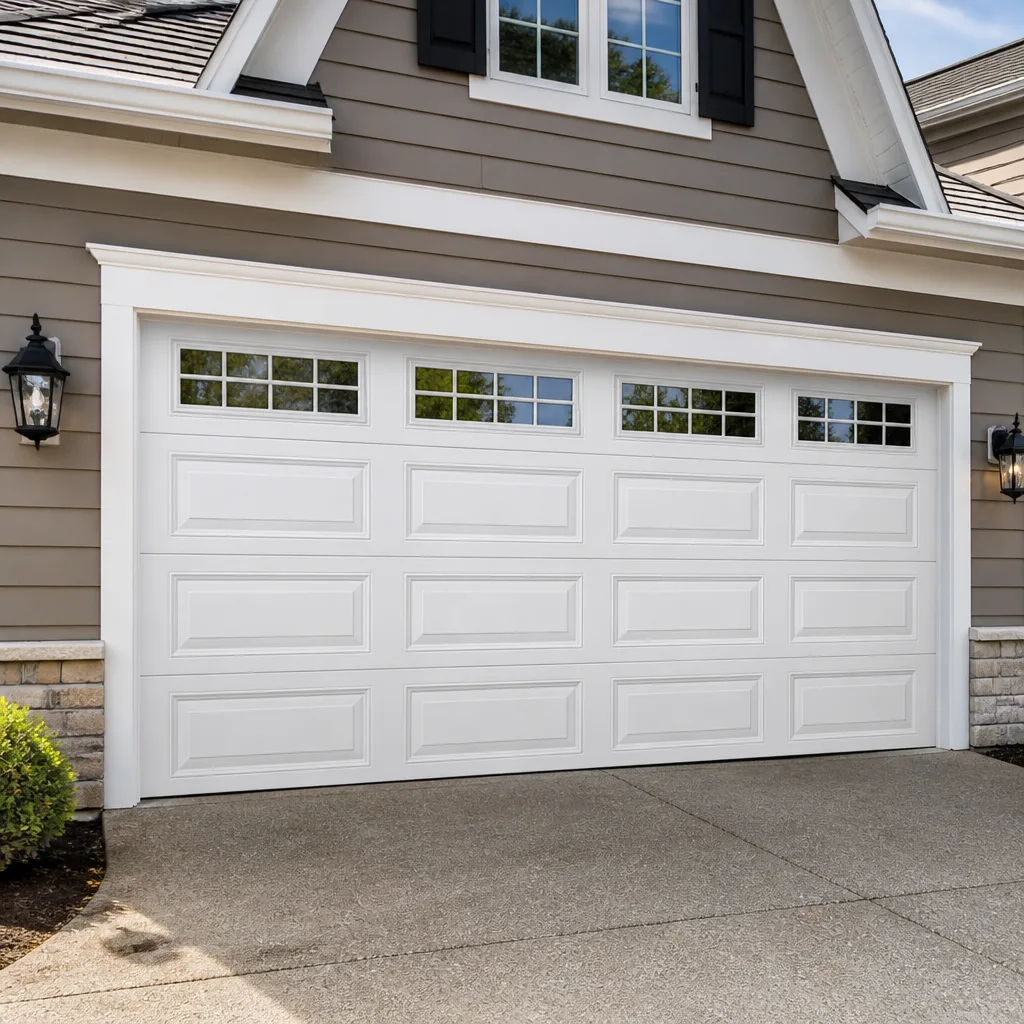 Raised-panel steel
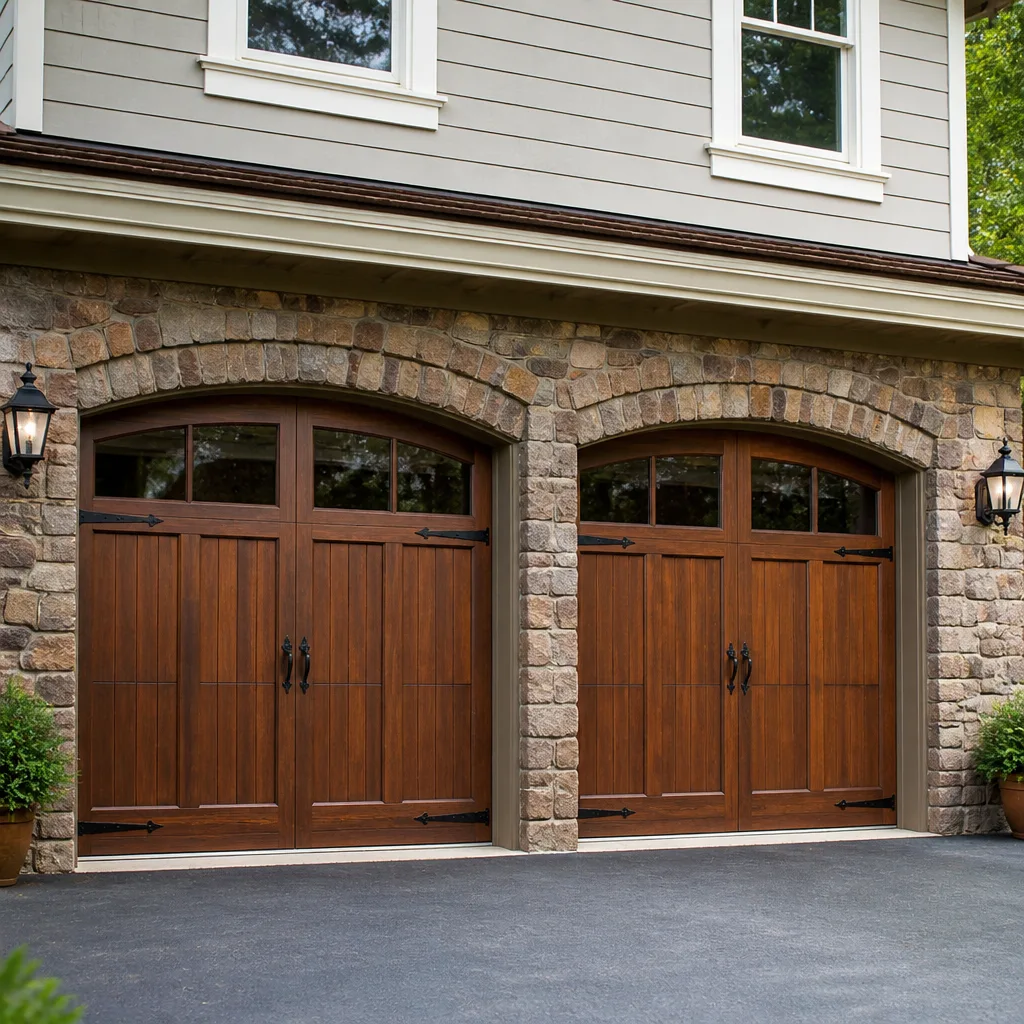 Carriage house
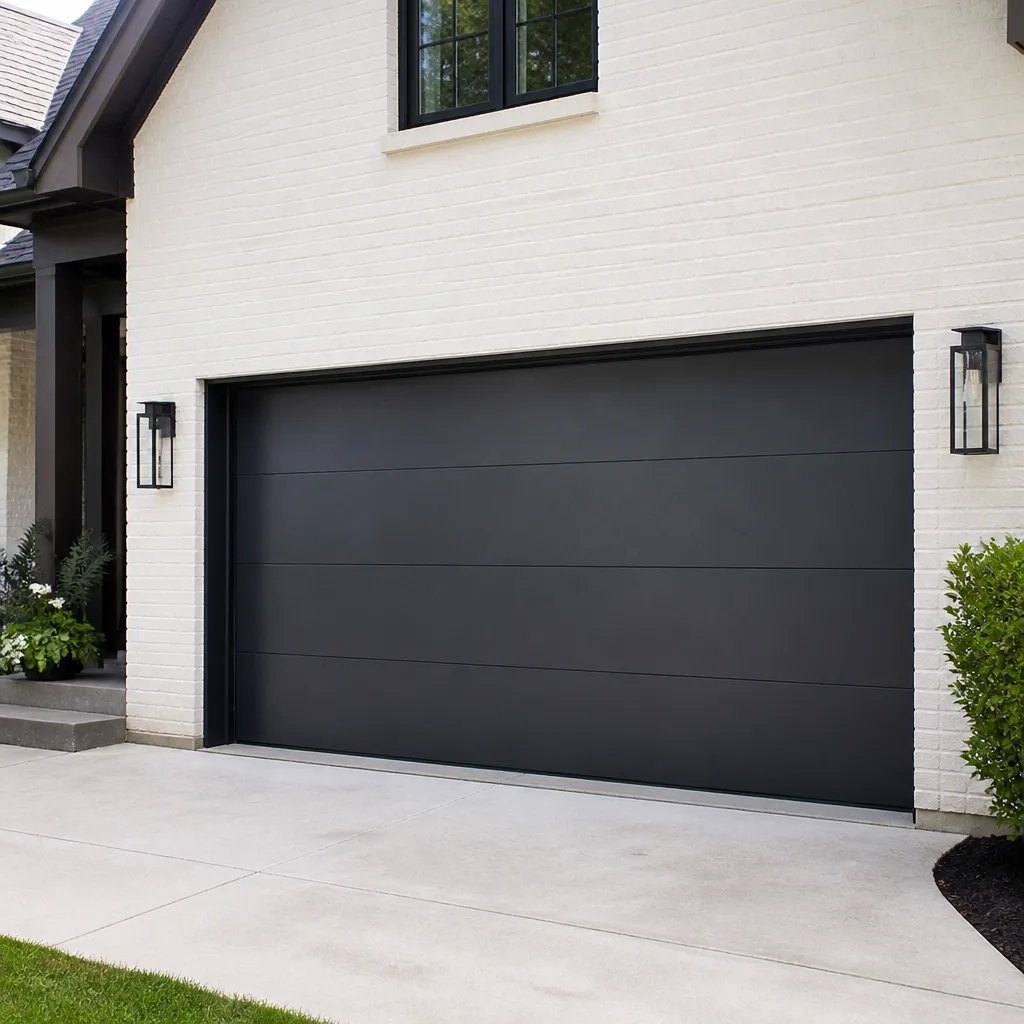 Modern flush
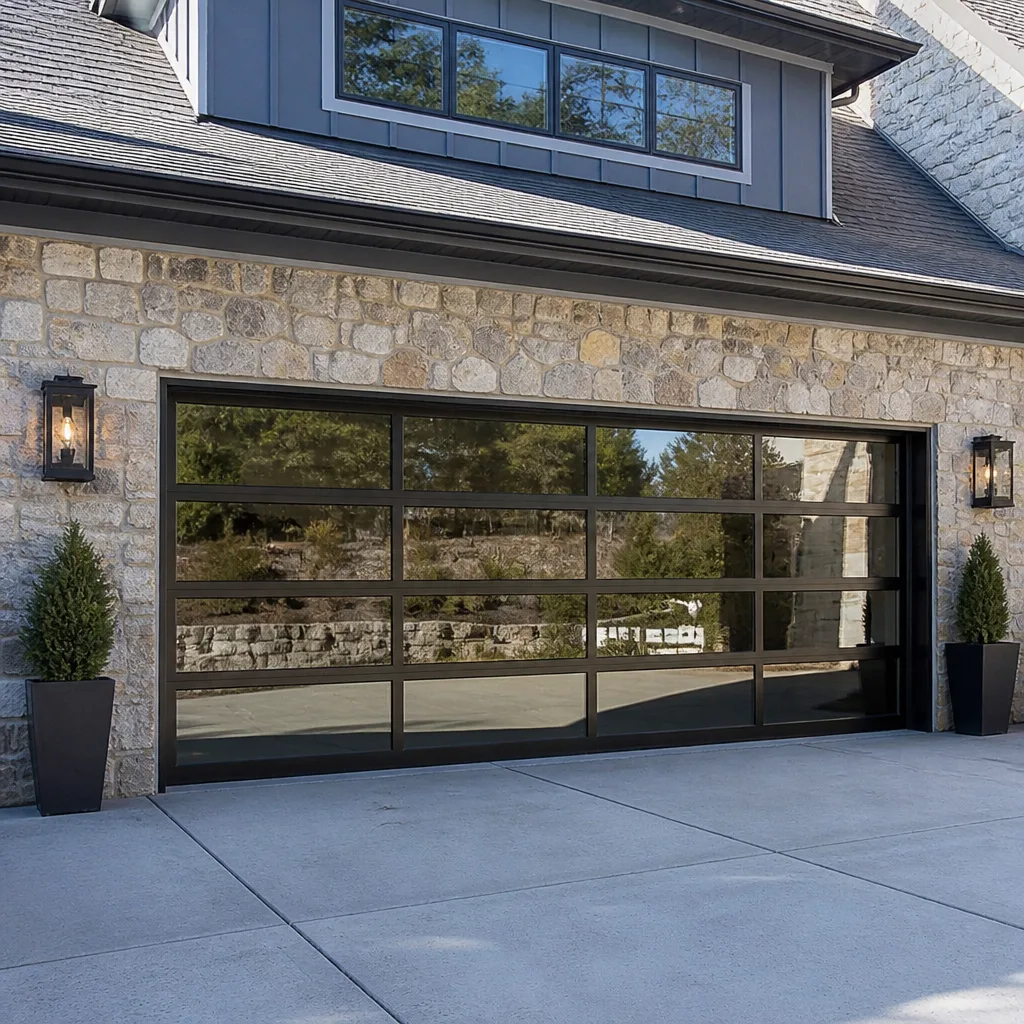 Full-view glass
 LiftMaster openers
 Chamberlain openers
Full 25-point door and opener safety check with every visit - springs, cables, rollers, tracks, and your LiftMaster or Chamberlain opener included
You get a price before we start. It does not change when the pro arrives.
Get your free estimateGarage Door Repair Maintenance Checklist for Garfield Ridge Homeowners
Most garage door advice you’ll find online was written for a national audience by someone who has never watched a torsion spring let go on a hot afternoon. Here’s the counterintuitive part: the damage that breaks a Garfield Ridge door in July almost always happens in January. Freeze-thaw cycles work metal all winter, and the failure just waits for summer heat to finish the job. This guide is a maintenance checklist built around when things actually fail here, not arbitrary calendar quarters. You’ll learn the two inspection windows that matter, how to test spring tension safely without tools, which lubrication points get skipped and which get overdone, and what a technician checks in ten minutes that you can replicate with a flashlight and a tape measure.
Quick Answer
Run a full garage door inspection twice a year in Garfield Ridge: once in late October before the hard freeze and once in late March after the thaw. At each window, check springs, cables, rollers, hinges, the bottom bracket, and the opener’s balance and safety reverse. Between those windows, lubricate moving parts and listen for new sounds. Anything involving springs or cables gets observed, never adjusted by hand.
Styles & brands we work with
- Raised-panel steel
- Carriage house
- Modern flush
- Full-view glass
- LiftMaster openers
- Chamberlain openers
Table of Contents
- Why Garage Door Maintenance Follows a Different Schedule in Garfield Ridge
- The Late October Checklist: Before the Hard Freeze
- The Late March Checklist: After the Thaw
- How to Check Spring Tension Without Tools
- Lubrication Points Most Homeowners Skip (and the Ones They Overdo)
- Cable Fraying Patterns on Cold-Cycled Doors
- What a Technician Checks in Ten Minutes That You Can Replicate
- Opener and Safety Reverse Testing
Why Garage Door Maintenance Follows a Different Schedule in Garfield Ridge
Garfield Ridge sits on the southwest side of Chicago, and the local climate gives garage doors a specific kind of wear. Winters bring repeated freeze-thaw cycles: moisture gets into joints, expands overnight, and contracts by afternoon. Metal fatigues a little more each time. Summer then adds heat load, which softens lubricant and changes tension across already-stressed components. A door that cycles four, six, or ten times a day here absorbs that punishment daily, and the effects compound.
National maintenance guides recommend quarterly checks and leave it there. That advice treats every climate the same, which is why it misses the two windows that actually matter in Garfield Ridge. What breaks doors here follows a pattern:
- Pre-freeze: Stiff hinges, dry rollers, and a poorly balanced door put extra strain on springs going into the coldest months.
- During freeze: Lubricant thickens, metal contracts, and cables flex repeatedly at the drum and bottom bracket.
- Post-thaw: Springs that survived the winter carry hidden fatigue into summer heat, when tension peaks and failures surface.
That’s why the April inspection gets skipped so often and why the July spring break surprises people. The failure started months earlier. Garfield Ridge homeowners who inspect in late March catch the fatigue before heat load finishes the job. It’s the single highest-value habit in this guide.
The Late October Checklist: Before the Hard Freeze
The pre-freeze inspection is about removing friction before cold weather adds it. You want every moving part loose, lubricated, and running true before the first hard freeze locks things up. Set aside twenty minutes with a flashlight and a rag.
- Balance test. Close the door, then pull the release cord to disconnect the opener. Lift the door halfway by hand. It should stay put or drift slightly. If it drops or rises on its own, the spring tension is off and you should stop here and call for a professional check.
- Roller inspection. Look at every roller in the track. Steel rollers should spin freely; nylon rollers should show no flat spots or cracks. Cold makes worn rollers brittle.
- Hinge check. Wiggle each hinge. Loose screws get tightened now, before contraction works them looser.
- Weather seal. Run a hand along the bottom rubber. Cracks or hardening mean cold air and moisture will get under the door all winter.
- Track alignment. Sight down each track. It should look straight. Dents or bends cause binding and put load on the springs.
- Lubrication pass. Apply a lithium- or silicone-based lubricant to hinges, rollers, and the torsion bar bearings (details in the lubrication section below).
If the balance test fails or you see a visibly sagging door, don’t force it through the winter. A garage door that’s working against itself will find the weakest component, and that’s usually a spring.
The Late March Checklist: After the Thaw
This is the inspection that prevents summer breakdowns, and it’s the one most Garfield Ridge homeowners skip. The thaw reveals what winter did. Look for the same items as October, plus a few that only matter after a cold season of cycling.
- Spring appearance. Look at the torsion spring above the door (or the extension springs alongside it). Rust streaks, a visible gap in the coil, or a spring that looks stretched compared to its neighbor are warning signs.
- Cable condition. Check the cables running from the drum to the bottom bracket for fraying, kinks, or slack. Details on what to look for are below.
- Bottom bracket and drum. These take the most cold-weather stress. Look for rust, distortion, or loose fasteners.
- Door panel alignment. A door that no longer sits flush was likely stressed over the winter. Panels should line up evenly across the top.
- Opener response. Test the safety reverse and listen for labored sound from the motor.
One thing about the March inspection: it’s a look, not a tune-up. If you spot rust on a spring, a frayed cable, or a door that hangs crooked, don’t try to correct it yourself. Those are the components that cause serious injury, and they need a trained technician.
How to Check Spring Tension Without Tools
You can test whether your springs are healthy without touching them and without a single tool. The balance test above is the safest method: disconnect the opener, lift the door halfway, and watch what it does.
What the result tells you:
- Door holds its position: springs are balanced and doing their job.
- Door drops when released: springs have lost tension and are laboring; the opener is doing work the springs should do.
- Door rises on its own: springs are over-tensioned, which stresses the opener and cables.
- Door feels unusually heavy to lift: a clear sign of spring fatigue or a failing spring.
Sound and motion patterns matter too. A spring nearing failure often makes a sharp pop or ping during operation, or the door hesitates briefly at the start of a cycle. A door that shudders as it opens is telling you something is out of balance. If you see a gap in the coil of a torsion spring or a stretched, distorted extension spring, treat it as failed.
The safety caveat is hard: never attempt to adjust, tighten, or replace a torsion spring or cable yourself. These components store enormous energy, and a sudden release can cause severe injury. Garage door spring repair is a job for trained professionals, and it’s the reason we treat springs as a front-line service rather than a specialty we hand off. Our technicians work on LiftMaster, Chamberlain, Clopay, and other major systems daily. If the balance test doesn’t look right, garage door repair is the call to make, not the toolbox.
Lubrication Points Most Homeowners Skip (and the Ones They Overdo)
Lubrication is where maintenance goes wrong in both directions. Some parts get ignored until they seize; others get sprayed so often they collect grit and grind themselves down. Here’s a practical map for a Garfield Ridge door.
Points people skip:
- Bottom bracket hinges: easy to overlook because they’re low and out of sight, but they carry load and stiffen in cold.
- Torsion bar bearings: the bearings at each end of the torsion bar need a small amount of lubricant to turn smoothly. Dry bearings add friction all winter.
- Roller stems: the shaft of each roller, not just the wheel surface, benefits from a drop.
- Opener rail and chain: a LiftMaster or Genie chain drive needs light lubrication along the rail; it’s often ignored.
Points people overdo:
- Tracks. The door tracks should stay clean and dry. Lubricant in the track attracts grit that wears the rollers and jams the door. Wipe them down instead.
- Roller wheels. Spraying the wheel surface itself does little and gathers dust. Lubricate the stem, not the wheel.
- Springs. A light coat on a torsion spring is fine, but soaking them doesn’t help and collects debris.
Use a lithium- or silicone-based lubricant, not a general household spray, and apply it sparingly. Doing it twice a year, at the two inspection windows, is generally enough.
Cable Fraying Patterns on Cold-Cycled Doors
Cables don’t fail randomly. On a door that cycles through cold weather, they fail in patterns you can read with a flashlight. The two places to look are the drum at the top of the door and the bottom bracket where the cable attaches.
What to look for:
- At the drum: the cable should wind evenly. Look for crossed or overlapping wraps, slack, or a cable riding outside its groove.
- At the bottom bracket: look for individual broken strands sticking out like a brush, kinks, or rust blooming around the attachment point.
- Along the length: a cable that has lost its smooth surface or shows repeated bends is fatigued even if it hasn’t broken.
Cold accelerates this because metal contracts and each cycle adds a small flex at the same points. A cable with visible fraying is close to failing, and cables are under high tension. Don’t try to re-wrap, tension, or replace one yourself. When a cable on a cold-cycled door is fraying, that’s a garage door repair call. We work with the door and opener you already own, including Wayne Dalton, Amarr, and the rest, so the repair matches the system you have.
What a Technician Checks in Ten Minutes That You Can Replicate
A trained technician runs through a fast, systematic inspection that catches most problems before they become repairs. You can do most of it yourself with a flashlight and a tape measure. Here’s the sequence:
- Balance test (two minutes): disconnect the opener, lift the door to half height, and watch whether it holds, drops, or rises.
- Door height measurement (one minute): measure the opening at both sides and the center with a tape. A door that’s dropping on one side shows an uneven gap.
- Spring visual (one minute): look for rust, gaps in the coil, and stretch.
- Cable and drum check (two minutes): flashlight along the drum and down to the bottom bracket for fraying and even winding.
- Roller and hinge pass (two minutes): spin each roller, wiggle each hinge.
- Safety reverse test (one minute): put a small object under the closing door and confirm it reverses on contact.
- Fastener check (one minute): tighten anything visibly loose at the brackets and hinges.
That’s the whole inspection, and it’s what separates a door that lasts from one that surprises you. The difference is that a technician knows exactly what a healthy spring, cable, and balance point look and feel like, and can tell the difference between normal wear and impending failure. Our technicians have up to 11 years of experience reading those signs. If anything in the sequence looks off, one call settles it. garage door installation and repair are what we do, and garage doors are all we do.
Opener and Safety Reverse Testing
The opener does the lifting, but a worn or misadjusted opener strains everything else. Test it at both inspection windows. Start by listening: a smooth opener runs quiet. Grinding, clicking, or labored sound points to a worn gear, a loose drive, or a door that’s out of balance and overloading the motor.
Two tests catch most opener problems:
- Safety reverse: place a small object on the ground under the closing door. The door should reverse and return to open on contact. If it pushes down instead, the opener needs adjustment before anything else.
- Force check: stand by while the door closes. If it struggles, pauses, or needs two attempts, the force or travel settings are off or the door is binding.
If your opener is a Chamberlain or LiftMaster, or any of the eight major brands we work with, the fix is usually adjustment or a specific part rather than a whole new unit. That’s part of why we handle garage door opener repair as a standalone service. The right part and the right repair beats a rushed replacement every time.
Common Mistakes to Avoid
- Skipping the post-thaw inspection. The failure that surprises you in July almost always started in winter. The late-March inspection is the one habit that prevents it.
- Lubricating the tracks. Lubricant in the door tracks attracts grit that wears rollers and jams the door. Tracks should be clean and dry.
- Forcing a heavy door. A door that’s hard to lift is telling you the springs are fatigued. Forcing it strains the opener and cables and can turn a repair into a replacement.
- Adjusting springs or cables yourself. These are the highest-risk components on a garage door. A sudden release can cause serious injury, so observe them but never adjust them.
- Replacing a whole door when a part will do. A worn hinge, roller, or opener gear is often a small fix. Replacing the door to solve a small problem is a waste of money.
- Ignoring new sounds. A pop, ping, or shudder is an early warning. Getting it checked before it fails saves both time and money.
- Assuming any technician knows your brand. Call a specialist who works with your specific system. Brand fluency matters more on garage doors than on almost any other home system.
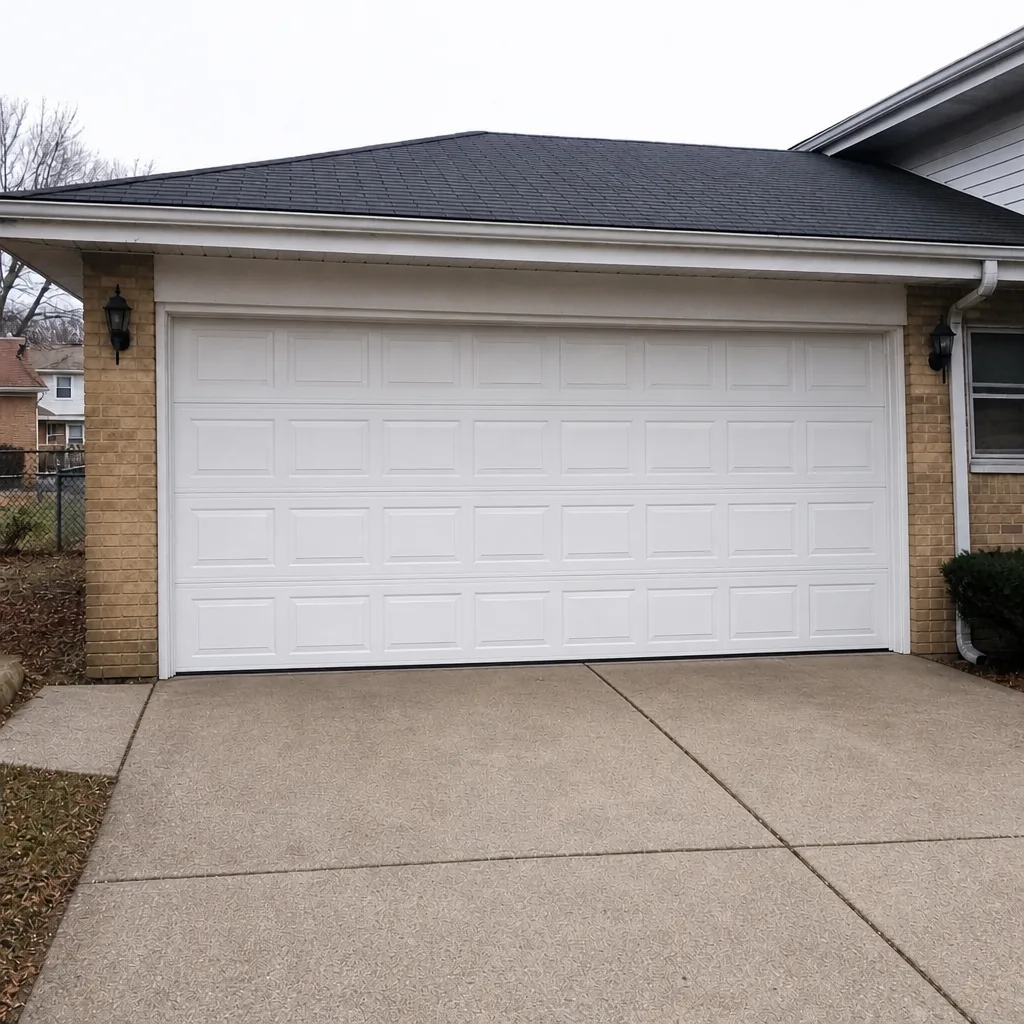
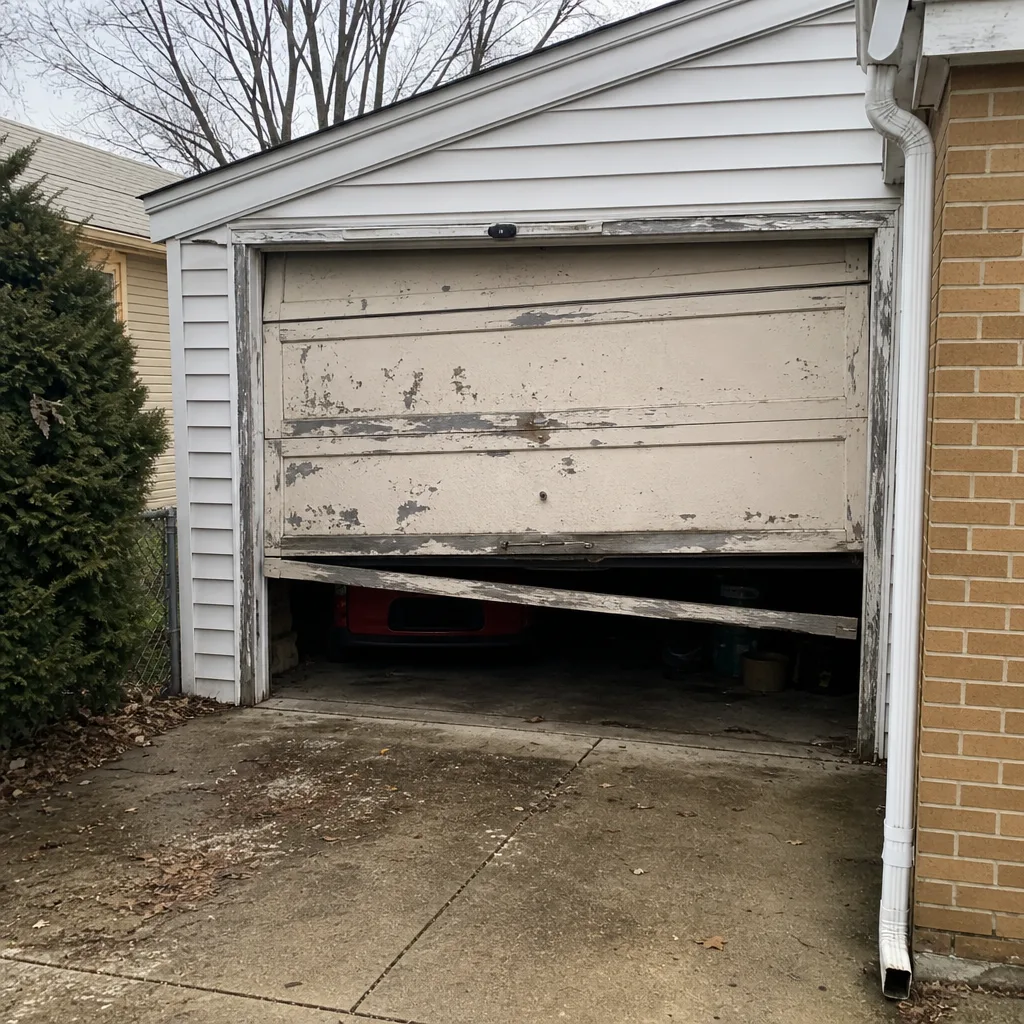
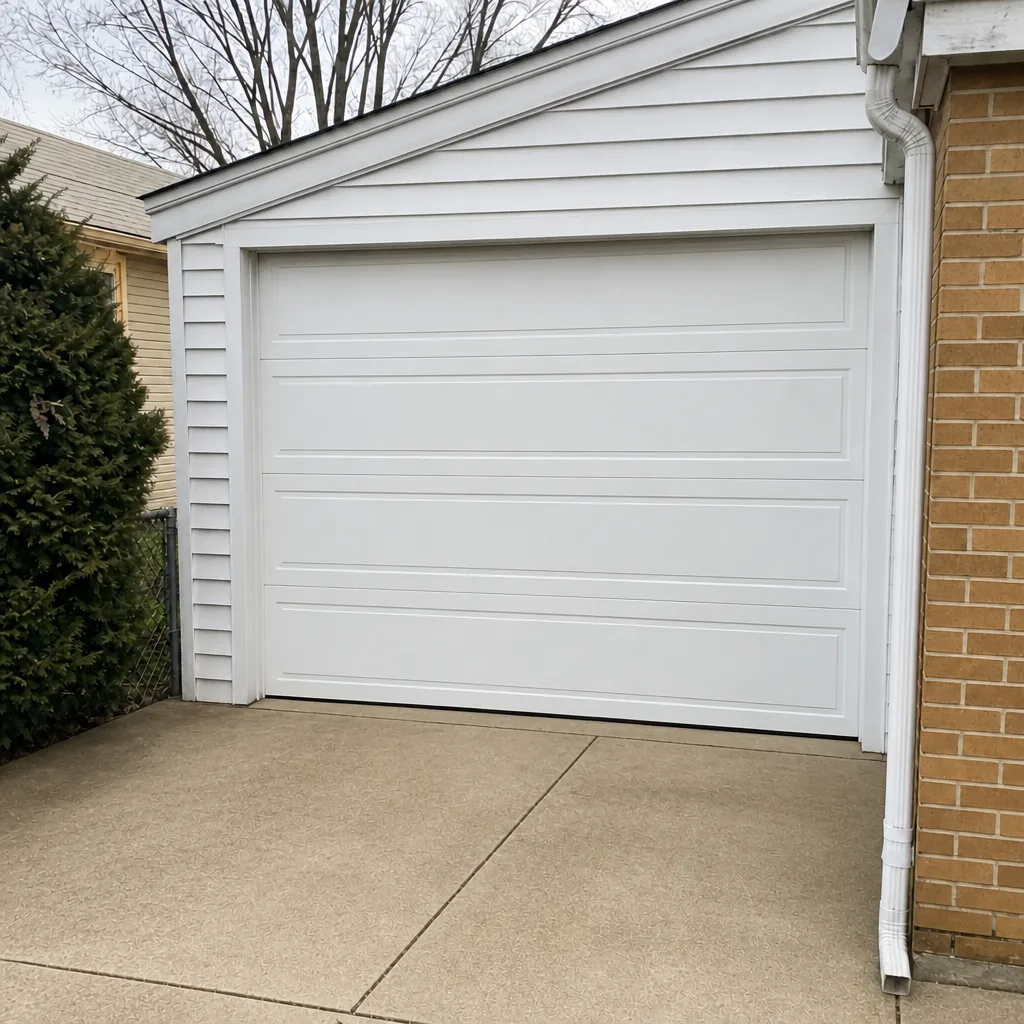
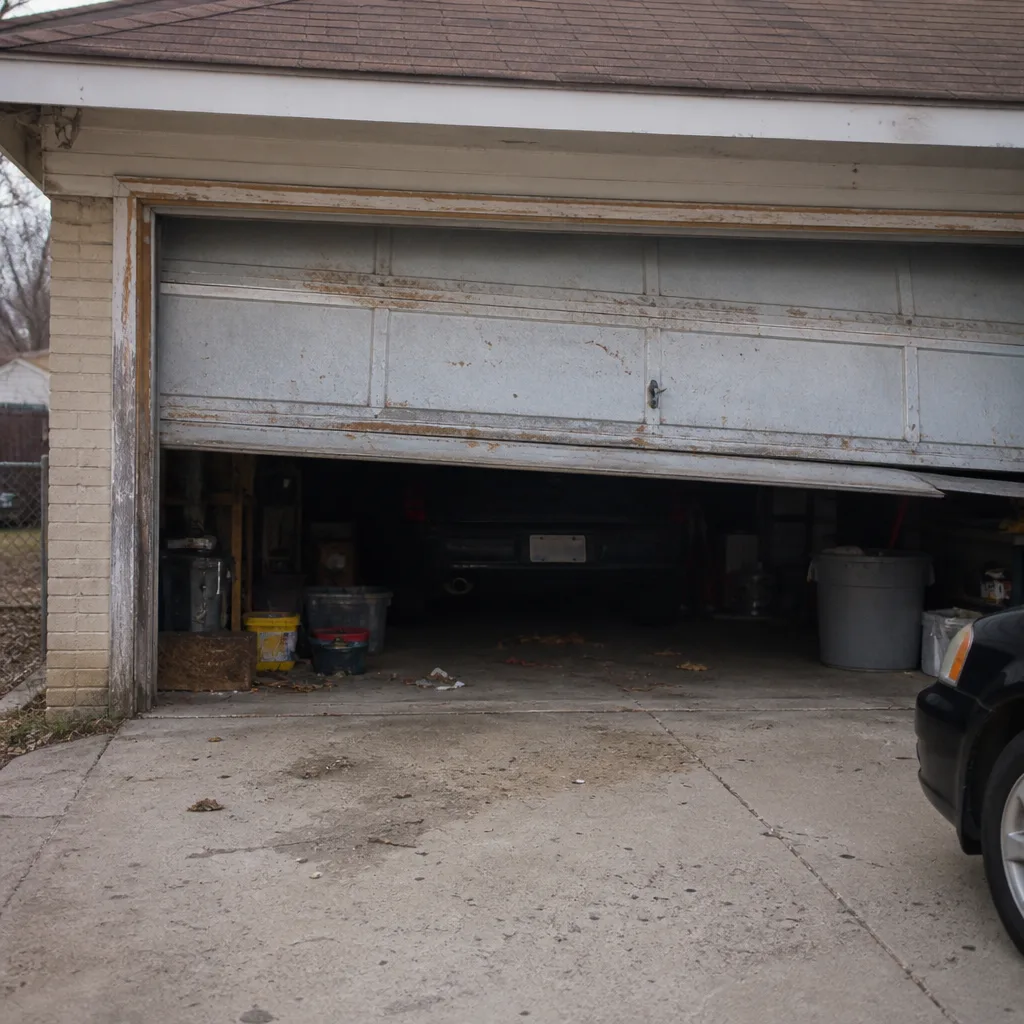
See the difference
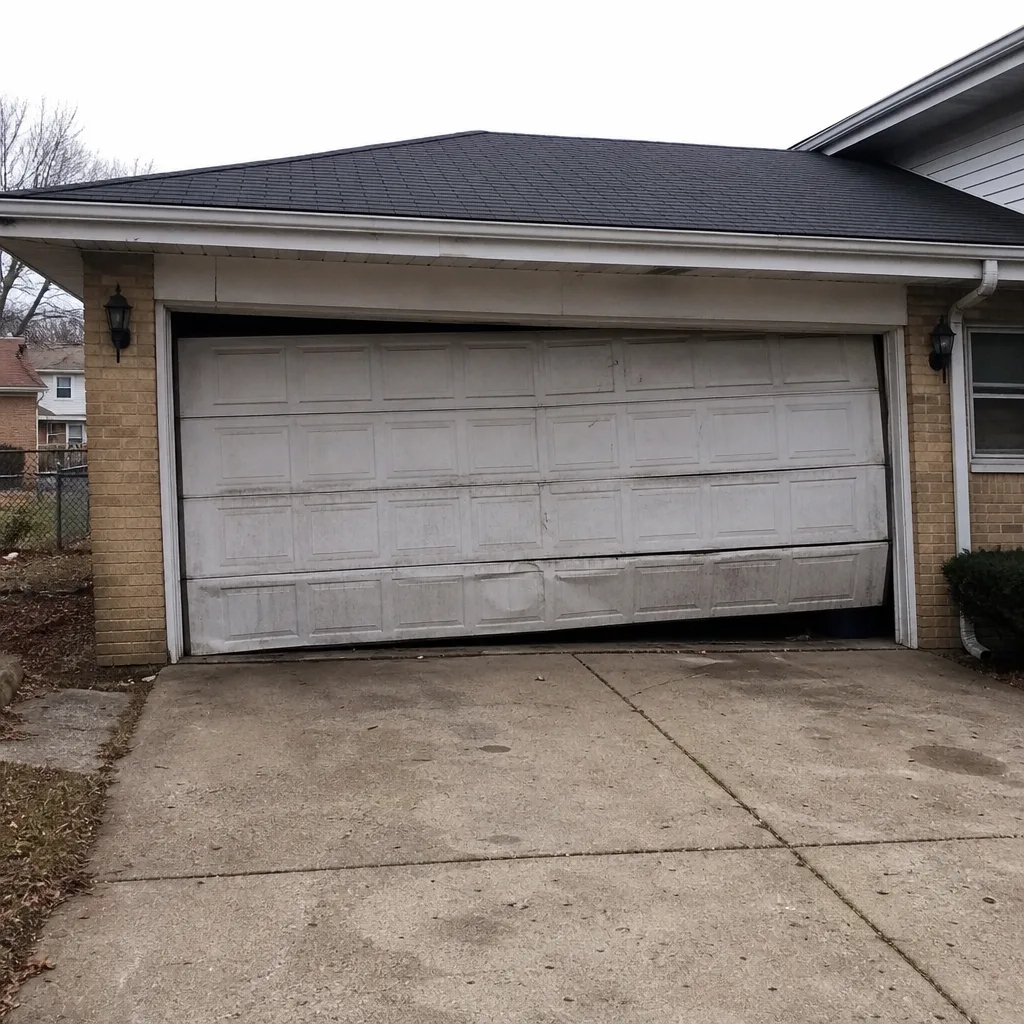 Before
 After
 Before
 After
 Before
 After
When to Call a Professional
Some checks are yours to run; some jobs belong to a trained technician. Call a professional when the balance test fails, when you see a gap or rust on a spring, when a cable looks frayed at the drum or bottom bracket, when the door hangs crooked, or when the opener grinds, refuses to reverse, or needs more than two attempts to close. Also call if the door makes a sharp pop or ping, if a panel no longer lines up, or if your weather seal has failed going into winter. Each of these can turn a small repair into a bigger one if left alone.
Garage Door Repair Garfield Ridge offers free estimates in Garfield Ridge. We answer 24/7, dispatch fast from 7am to 7pm Sunday through Friday, and close Saturday. Call (877) 492-2475 to book a check or a repair, and the price is confirmed in a written estimate before any work begins.
Frequently Asked Questions
Twice a year is right for most Garfield Ridge homes: once in late October before the hard freeze and once in late March after the thaw. Those are the two windows that match local wear patterns. A quick balance test and visual inspection in between is a good habit.
A door that suddenly feels heavy to lift, a sharp pop or ping during operation, or a visible gap in the torsion coil are the clearest signs. A failing spring often stops the door from holding its halfway position during the balance test. If you spot any of these, keep observing but don’t adjust. Call a professional for spring inspection and repair.
No. Torsion springs and cables store enormous energy, and a sudden release can cause severe injury. You can safely run the balance test and look for wear, but adjustment and replacement belong to a trained technician. This is the one part of the checklist you should never attempt.
No. The door tracks should stay clean and dry. Lubricant in the tracks attracts grit that wears the rollers and jams the door. Lubricate the hinges, rollers, torsion bar bearings, and opener rail instead, and wipe the tracks down.
Because the damage happens over winter and the failure shows up in summer heat. Freeze-thaw cycles fatigue springs and cables through the cold months, and the extra tension of warm weather finishes the job. That’s why the late-March post-thaw inspection matters so much in Garfield Ridge.
We do. We work with LiftMaster, Chamberlain, Genie, Clopay, Amarr, Wayne Dalton, Craftsman, and Raynor, so the technician works with the door and opener you already own. When you call, let us know the brand and any model information you have, and we’ll bring the right parts. Estimates are free.
The Bottom Line
The garage door checklist that works in Garfield Ridge isn’t the one organized by calendar quarters. It’s the one organized around when things actually fail here. Inspect in late October before the hard freeze, inspect again in late March after the thaw, and run a balance test in between. Lubricate the hinges, rollers, bearings, and opener rail, and leave the tracks clean and dry. Watch cables at the drum and bottom bracket, listen for pops and shudders, and test the safety reverse. Read the signs, and call a trained professional when the balance test fails or a spring or cable looks worn. If you’d rather have a specialist run the inspection, we do that too.
Call (877) 492-2475 for a free estimate. We answer 24/7. Fast dispatch from 7am to 7pm, Sunday through Friday. Your price is confirmed in a written estimate before any work starts.
Written by the team at Garage Door Repair Garfield Ridge.